

Install your signature in Apple Mail
Copy your CloudCard signature and add it to the Mail app on your Mac.
Add your CloudCard signature to the Mail app on your Mac so it appears on the emails you send. You copy it from CloudCard in your browser and paste it into Mail’s signature settings.
Before you start
Build your email signature on your Mac and choose a template.
Copy your signature
- In the left-hand menu, click Email Signature.
- Under Add your signature to your email, click the Apple Mail tab.
- Click Copy Signature. The button briefly changes to Copied!.
Paste it into Mail
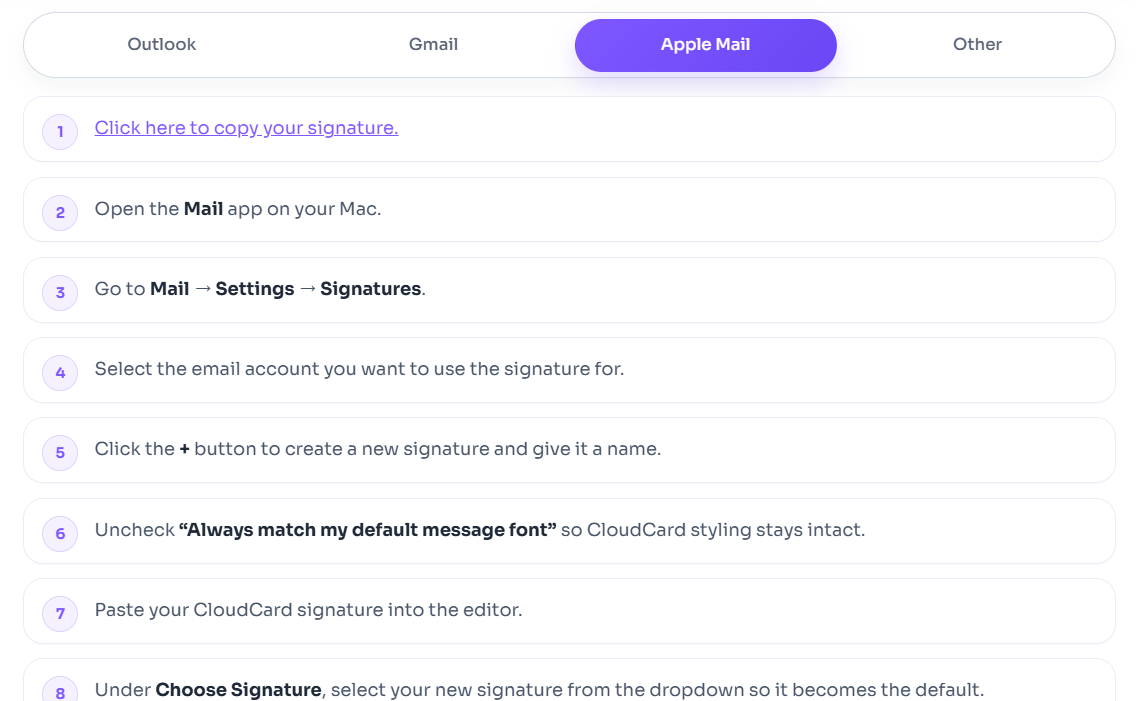
- Open the Mail app.
- Go to Mail > Settings (called Preferences on older versions of macOS), then click Signatures.
- In the left column, select the email account you want the signature for.
- Click + to create a new signature and give it a name.
- Untick Always match my default message font so your CloudCard styling stays intact.
- Click in the signature area on the right and paste (Cmd+V).
- Under Choose Signature, select your new signature so it becomes the default for that account.
- Close the settings window. Mail saves your changes automatically.
Start a new email to check that the signature appears.
If the signature looks wrong
- Copy it again from CloudCard and paste it straight into Mail. Pasting into another app first can strip the formatting.
- Check that Always match my default message font is unticked.
Still stuck? Contact support.
Was this article helpful?
Thanks for letting us know.
Still stuck?
Send us a message and we'll know which article you were reading. Or email [email protected].