

Install your signature in Gmail
Copy your CloudCard signature and set it as your default signature in Gmail.
Add your CloudCard signature to Gmail so it appears on new emails, replies and forwards. You set it up once in Gmail in a web browser on a computer.
Before you start
Build your email signature and choose a template.
Copy your signature
- In the left-hand menu, click Email Signature.
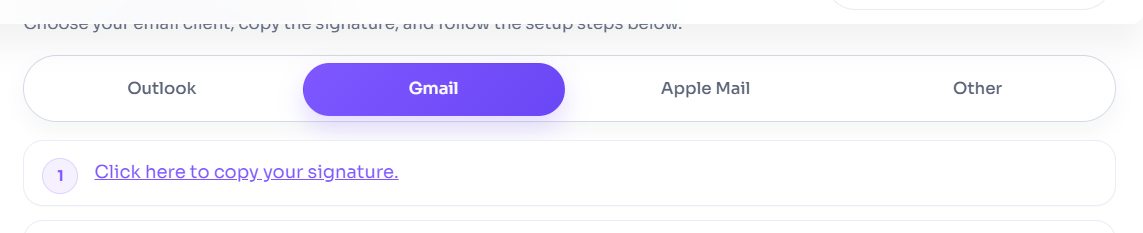
- Under Add your signature to your email, click the Gmail tab.
- Click Copy Signature. The button briefly changes to Copied!.
Paste it into Gmail
- Open Gmail in your browser.
- Click the gear icon, then See all settings.
- On the General tab, scroll down to Signature.
- Click Create new and give the signature a name.
- Click in the editor box and paste (Ctrl+V on Windows, Cmd+V on a Mac). Your signature appears with its images and colours.
- Under Signature defaults, choose your new signature for For new emails use and On reply/forward use.
- Scroll to the bottom of the page and click Save Changes.
Click Compose to check that the signature appears.
If the signature looks wrong
- Copy it again from CloudCard and paste it straight into Gmail. Pasting into another app first can strip the formatting.
- Gmail limits how long a signature can be. If Gmail says your signature is too long, try a simpler template, or ask your admin whether a long disclaimer can be shortened.
Still stuck? Contact support.
Was this article helpful?
Thanks for letting us know.
Still stuck?
Send us a message and we'll know which article you were reading. Or email [email protected].